

How to Make Reels in Canva
There are so many different ways you can approach reels beyond the traditional lip-syncing we all know and (mostly) love.
The best part is that you can use Canva to easily put together reel videos that are just as eye-catching as those trendy dances!
I like to stay on the sillier side of reels with a lot of jokes and humor, but occasionally I’ll do something like this as an alternative way to use reels and add visual interest to my feed.

In this blog, I’m going to walk you through 2 different types of reels you can create in Canva WITHOUT having to show your face.
Let’s get into it!
Reel #1
This type of reel is going to be similar to the post above with moving graphic elements, just to get your feet wet!
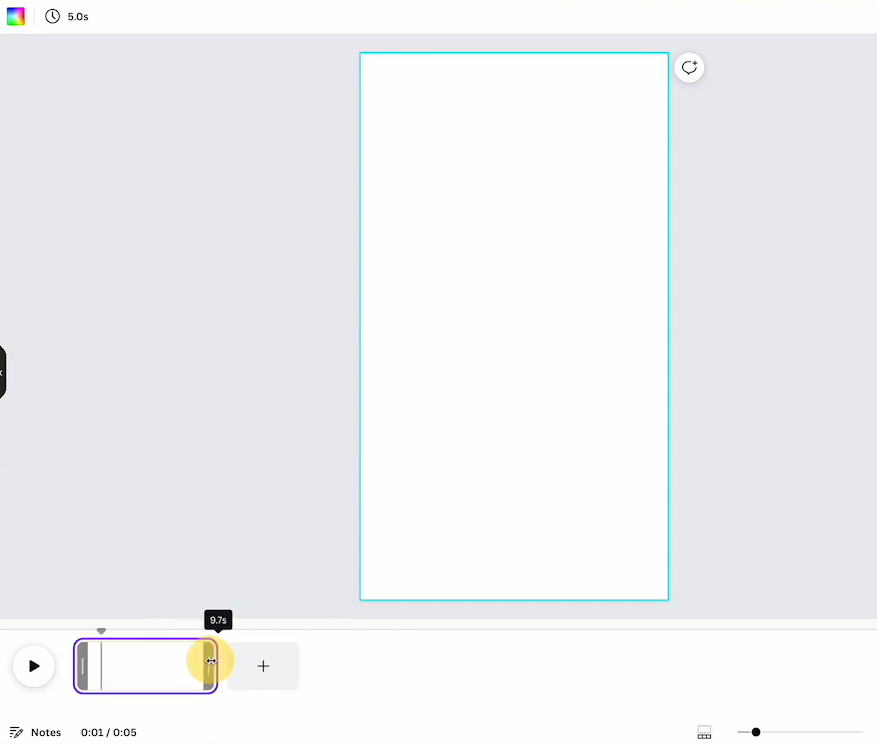
Step 1: Create a new design.
Search for Instagram reels, and make sure the one you select has the video timeline at the bottom. This will give you all of the video editing capabilities you’ll need!

Step 2: Edit your video length.
You can change the duration of each “page” of your reel by clicking on the page in the timeline and dragging the side of it right or left. You can also edit this in the top left editing bar.
Tip: try to keep the length of text-based reels under 15 seconds - these seem to perform better than longer text-based videos.
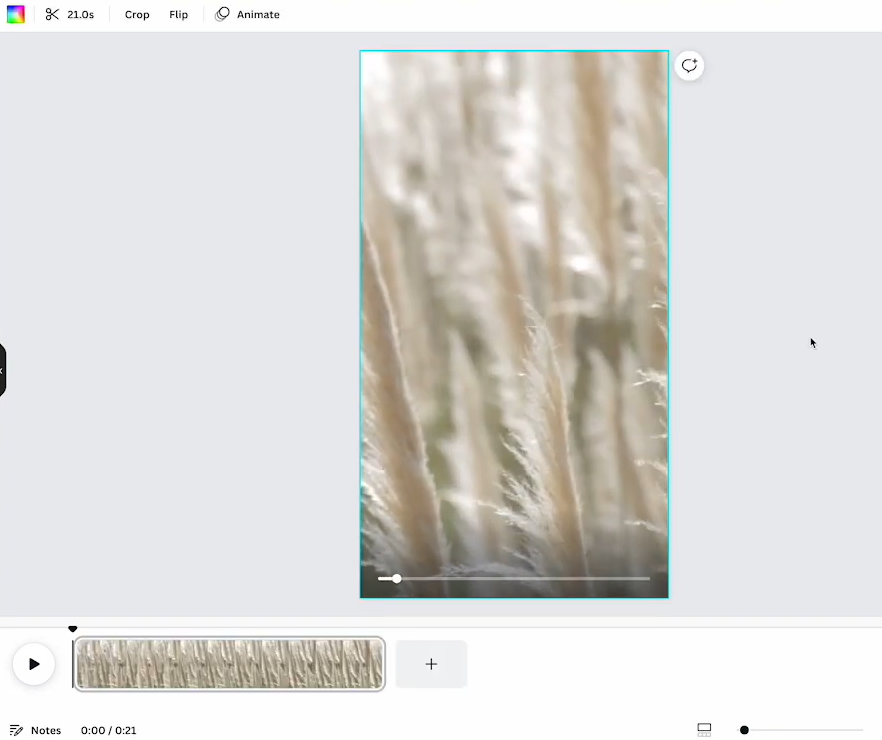
Step 3: Add an animated background.
Browse Canva’s stock videos for something that fits your brand! Be patient as you search - Canva has A LOT of stock videos, so play around with the keywords you use.
Tip: Make sure the background video you’ve chosen hasn’t changed the overall length of your reel. You may need to crop the video length.
Step 4: Add text and other elements.
Start by adding a rectangle to the middle of your page. Then, add text on top of it with any other graphic elements you like (such as your logo or a brand icon).

Step 5: Finetune and download.
Preview your reel from the beginning, make tweaks as needed, and you’re done!
Reel #2
This reel is going to be a little more advanced with transitions, moving text, and audio!
Step 1: Set up your reel the same way as above.
Add a background video, text, graphic elements, etc.
Step 2: Add an audio file.
Select an audio file from the Uploads folder or wherever your file is stored. You can click on the audio file in your timeline to adjust the duration and where it begins in your video.
Step 3: Add a second page.
Select the “+” button on the video timeline.
In my example, I’ve moved the second page to the beginning of the video.
Add photos, text, and graphic elements to your second video page. This will be the intro for my reel!
Step 4: Add an animation.
Select the elements you want (group them so they move together), then select “Animate” and choose your animation!
Step 5: Add a transition.
Click the “+” between your two pages to add a transition between the videos.
Step 6: Fine-tune and download.
Preview your reel from the beginning, make tweaks as needed, and you’re done!
Where to find stock videos
Even though Canva has tons of options for stock video, they may not always fit what you’re looking for. Here are a couple of stock video resources outside of Canva that I recommend:
Social Motion Packs: This company is changing the game for vertical stock video. They have a membership available, or you can purchase videos a la carte.
Pexels: Pexels is a great FREE stock video resource. You may have to do a little more digging, but they have amazing vertical video options to choose from.
To watch me create these reels step by step, check out the full video here.